Table of Content
We believe that in order to have the best possible online shopping experience, our customers should not have to pay for domestic return shipping for warranty exchanges. So if for whatever reason you're not happy with your purchase, just go through our easy self-service return process. Use the tip of a spudger to lift the digitizer cable connector straight up off of its socket. Use the tip of a spudger to lift the LCD connector up off its socket on the logic board. Use the tip of a spudger to lift the home button cable up off of its socket on the logic board. Push gently between each of the two adhesive tabs; be careful not to damage any of the nearby cables.
The antenna is attached to the bottom of the iPad via screws and a cable. This step detaches the antenna from the front panel, ensuring that when you remove the panel, the antenna will not be damaged. There is a small gap in the iPad's adhesive ring in the upper right corner of the iPad, approximately 2.0 inches (~5 cm) from the top of the iPad. If you need to reheat the iOpener, heat the water to a boil, turn off the heat, and place the iOpener in the water for 2-3 minutes.
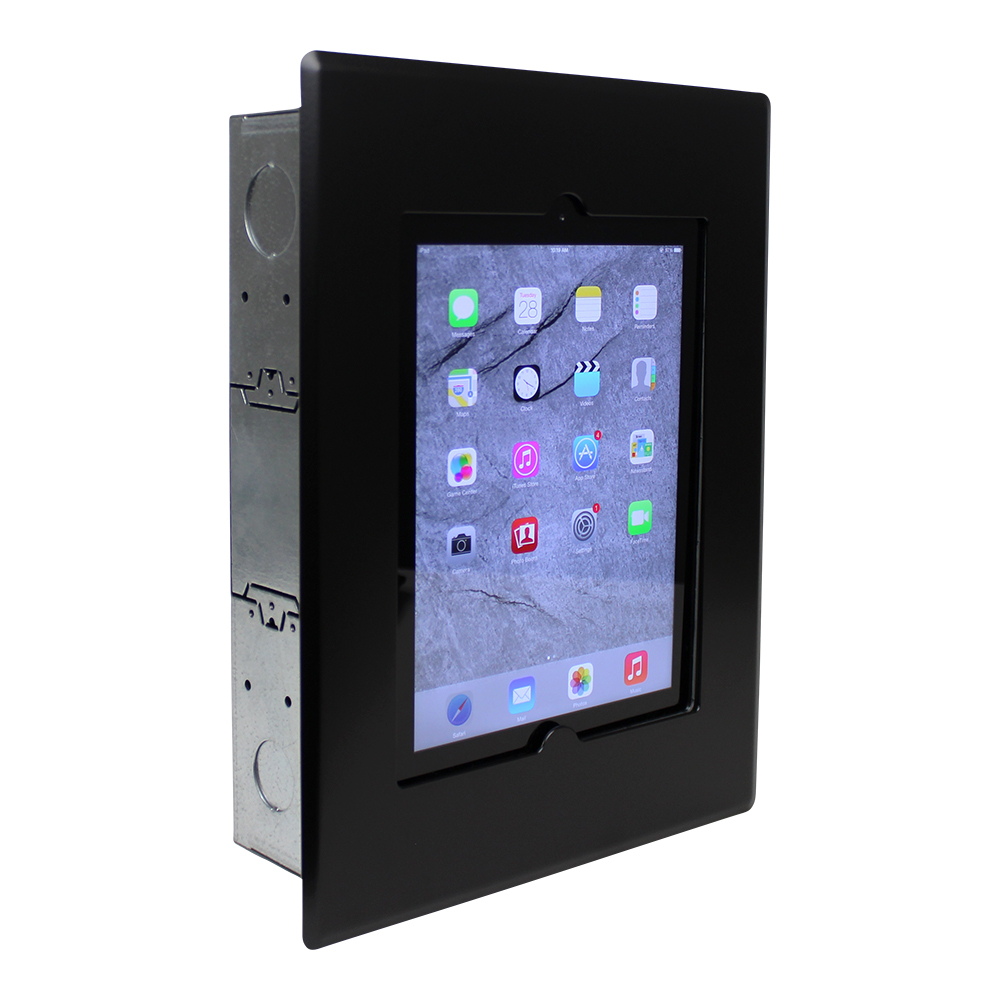
For iPad Mini 3 A1599 A1600 2014 Black Touch Screen Digitizer + Free Home Button
The connector on the iPad Mini needs to be fully connected just to control the digitizer. On the iPad Mini 3, the digitizer and home button use the same connector. Will usually dispatch within 2 working days of receiving cleared payment. Push slowly and apply just enough pressure to slowly separate the gasket from the glass—if you push too hard the gasket will rip. Wait about two minutes before moving on to ensure the adhesive has adequate time to soften.
While holding the iPad down with one hand, pull up on the suction cup to slightly separate the front panel glass from from the rear case. Carefully place a suction cup halfway up the heated side. Place the iOpener over the home button on the front edge of the display.
US White Touch Screen Digitizer IC Board Home Button for Ipad Mini 3 A1599 A1600
Using the technique above, release the adhesive on the left side of the home button. The bottom of the digitizer cable is only ~1" from the bottom of the iPad. Work carefully and slowly, making sure to not sever this cable. If the opening pick is getting stuck in the adhesive, "roll" the pick as shown in step 9.
Use the flat end of a spudger to pry the LCD shield plate up and out of the iPad. Slide the tip of a spudger between the LCD and the adhesive tabs to free the display. Gently pull the LCD away from the speakers to separate the tape, being careful not to pull on the digitizer cable. Use a thin, flexible card or plastic money note to cut through the adhesive starting from the top. Be very careful not to get the spudger under the shield plate.
iOpener Heating
Insert the spudger between the LCD and LCD shield plate and slide it to the far edge of the iPad. Slide the top right opening pick around the corner to fully release the top edge of the glass. Leave the three picks in the corners of the iPad to prevent re-adhering of the front panel adhesive. Leave the second pick in place to prevent the corner adhesive from re-sealing as it cools. Pull the pick out slightly, and slide the very tip gently along the top of the front-facing camera section of the top edge. Be careful not to overheat the iOpener during the repair procedure.
So if you are not 100% satisfied with your order, neither are we. You can return your order for an exchange or refund . Have you lost your apple iPad charger and lightning USB cable, need a backup for both or simply need..
Replacement Guides
Leave this pick in place to keep the adhesive from re-sealing itself, and grab a new pick for the next step. Leave the opening pick in the iPad slightly past the front-facing camera. Reheat the iOpener and place it on the top edge of the iPad, over the front-facing camera. Follow the steps in this guide to replace the home button in an iPad Mini 3. Note that since home button fingerprint scanners are paired to their respective logic boards, swapping in a new home button will result in losing Touch ID functionality.

Place a second opening pick alongside the first and slide the pick down along the edge of the iPad, releasing the adhesive as you go. Peel back the digitizer ribbon cable and use the flat end of a spudger to release the adhesive securing the cable to the rear aluminum case. Very carefully pull the digitizer ribbon cable straight out of its sockets on the logic board.
Again, as you may find yourself working with broken glass during this procedure, we strongly recommend wearing safety glasses for protection from flying shards. Yeah you should be fine, I prefer it when I see these types arrive. As long as the contacts are covered, and you dont pinch the cable. I had the same problem when installing a new digitizer with home button preinstalled. Having said that, since we pay extra for the screens with HB etc installed you would have thought that the manufacturers would have put a measly bit of tape on. Hey Andrew, yes I've encountered this problem.
Insert the tip of a plastic opening tool into the gap between the front glass and the plastic bezel. Just insert the very tip of the opening tool, just enough to widen the crack. It even works if its almost in the ipad mini housing, but as soon as the glass sits in, homebutton goes crazy. Tried the electrical tape hint didnt work out for me. @Francesco Marianucci I'm in a facebook group with that guy and he has great tutorials.